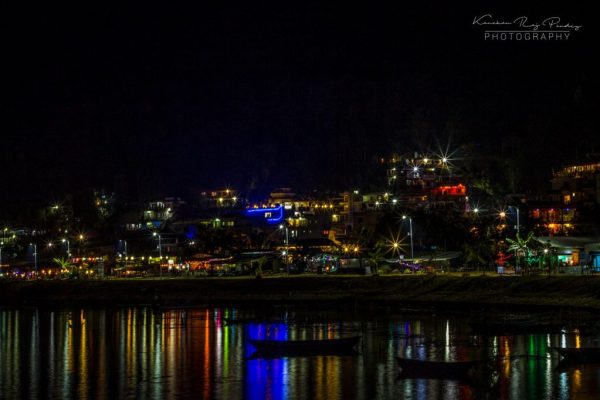
One such type of photo is one in which a mirror image is created with a water reflection. It takes several different camera settings and only the right lighting conditions to create a wide range of water for the desired look.
Reflections can be a great addition to your photographs at any time of day or night, but they are especially appealing at night. Adding reflections can help you solve compositional issues that arise at night. Furthermore, the steps you must take to capture photos at night, such as using a tripod and a slow shutter speed, actually make it easier to capture reflections.
When capturing reflections in your photography at night, get down close to the water. That way, you’ll include much more reflection in your photos.
It is amazing when all comes together after sunset; the city lights start glowing and those reflections produce brilliant results. The key to successful night photography is a solid tripod, as long exposure times are common and a bit of patience.
Nighttime Water Reflection Photography: 5 Tips and Tricks
- Set your camera to manual mode because auto-focus does not work sufficiently in low light.
- Night photography requires slow shutter speeds. Because it is dark and your camera needs to hold the shutter open a long time in order to gather sufficient light for the exposure.
- Utilize the camera’s self-timer, a cable release or remote release to trip the shutter.
- Use a smaller aperture (around f/11 for landscapes or f/5.6 for smaller objects and area size)
- When taking still photos at night, it’s a good idea to set your ISO to the lowest setting possible on your camera. Try not to go above ISO 400 or 800.
I hope I explained some of my quick tips for better night photography. If you have any questions regarding this post, please leave them in the comment section below.
Check out How to use the rule of thirds in photography
Thanks for reading!